This post is part 3 of 4 about using the Baseline Validation Tool (BVT) with Oracle Business Intelligence (OBIEE).
- Post 1 with an intro to BVT, can be found here.
- Post 2 about setting up BVT to run, can be found here.
Running the Test Against Both Environments
We need to execute BVT twice with the same config file but different deployments listed. This will grab the output of each report and save it into the results folder that you specified at the bottom of your config file.
To execute the test, open command prompt and cd to your oracle.bi.bvt folder. Mine is D:\oracle.bi.bvt. Next, run the following command:
bin\obibvt.bat –config <Path to scripts folder and config file> -
deployment <The name you gave the first instance in your config file>
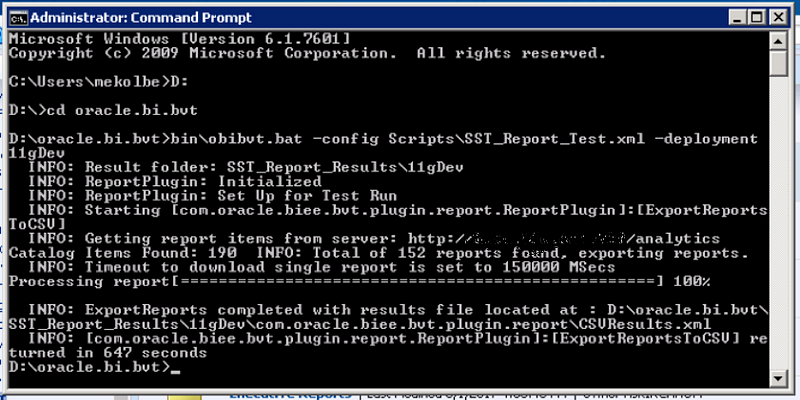
In my environment, I would run the following:
bin\obibvt.bat –config Scripts\SST_Report_Test.xml –deployment 11gDev -passwordYou’ll be able to watch the output in the command prompt of how many reports it found and the progress running them.
If you are running the UI test, you’ll actually see browser windows open up on your computer, BVT will log you in and navigate to the report to run. If you set your config Thread Query Size greater than 1, you’ll see multiple browser windows open at once. Go ahead and surf social media while your computer makes you look busy running report. I’m sure the boss will be impressed. 😆
I was watching BVT type my username into this browser window as I took the screenshot
Once the test finishes, in command prompt hit the up arrow to pull up your last command and change your deployment name to your second instance that you want to test. For me this is production so I’d run:
bin\obibvt.bat –config Scripts\SST_Report_Test.xml –deployment 11gProd -password
At this point, if you navigate in file explorer to your results folder, you should see two folders, one for each deployment that you ran BVT against. Under those deployment folders you’ll see a folder for each plugin test that you ran and then within those folders, you’ll see your OBI catalog as folders containing the report exports which will be used for comparison.
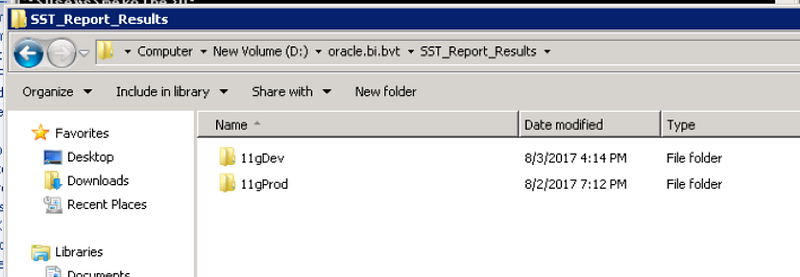
Results folder with both instances named that I ran this BVT against
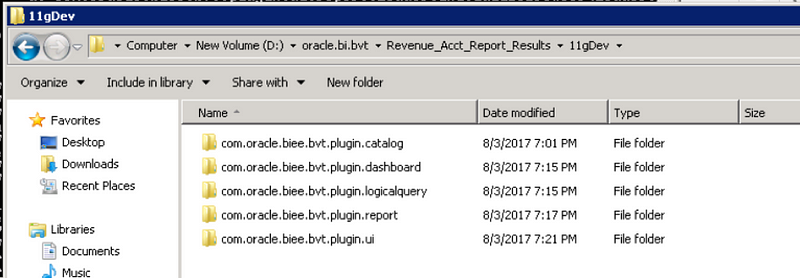
Within each report environment folder that I ran BVT on, the next level of folders are the tests I ran. The exports of the report results are contained in each of these folders.
Comparing the report exports
The last step for BVT is to run a command to compare the exports that were taken. Go back to command prompt for this step.
You should still be in the oracle.bi.bvt folder. Run the following command:
bin\obibvt.bat –compareresults <Results folder name>\<First
Deployment Name> <Results folder name>\<Second Deployment Name>
-config <Path to scripts folder and config file>
I ran the following:
bin\obibvt.bat –compareresults SST_Report_Results\11gDev
SST_Report_Results\11gProd -config Scripts\SST_Report_Test.xml
I haven’t seen this take more than a minute to run. It’s much faster than the actual running of the reports!
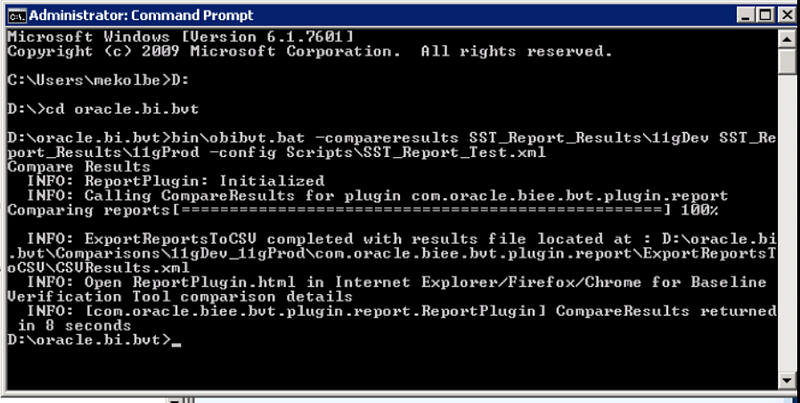
Note: If you enabled timestamps on your results folders, you’ll need to lookup the specific folder name with that timestamp and enter that in as part of the folder name when comparing results. To be honest, I find this to be a pain so I back up my results folders if needed manually before running bvt again.
Important! I learned the hard way that the -compareresults command will overwrite anything in your Comparisons folder for those same deployment tests. Since I prefer to run BVT on separate folders in the same instances, I’ve made it a habit to copy the results into another folder before running compare again.
Finding the BVT Test Results
After you run the –compareresults command, the results of the comparison will be stored in a folder in the oracl.bi.bvt folder called Comparisons. The next level will contain a folder with the two deployments that you ran the comparison against. Within that folder, you’ll see a folder for each test plugin that you ran. Finally, you’ll see an HTML file named after the plugin (ie. ReportPlugin.html, CatalogPlugin.html, etc.) which is the gold at the end of the rainbow that you were searching for. Open this HTML file in a web browser.

BVT results folder for Reports Plug In test
Finding the Test’s Export Files
No matter which test I’m running, I’ve found it useful to pull up the export files to determine what is different between the two environments when a report shows as Failed on the test plug-in. It’s not easy to navigate to these folders but it’s logical once you get the hang of it.
- In file explorer, navigate to the Results folder within your BVT folder (recall that you specified the name of the results folder in your config). The results folder may contain a timestamp if you specified that in the config also.
- Choose the name of the deployment for the export you’d like to open.
- Choose the name of the plug-in test you ran.
- Navigate through your catalog path to the results file. (ie. Shared — Sales — etc.)
As I’ve mentioned before, I like to pull these export files up side-by-side to easily view the differences between the environments. There are multiple tools that can do this for your csv or xml output files from the Report and Dashboard plug-ins. One I like is BeyondCompare which gives you a free 30 day trial. This tool will highlight differences in red so you can easily spot where things are different between the two environments.
Stay tuned for Part 4 of this series where I show you how to read the BVT results.
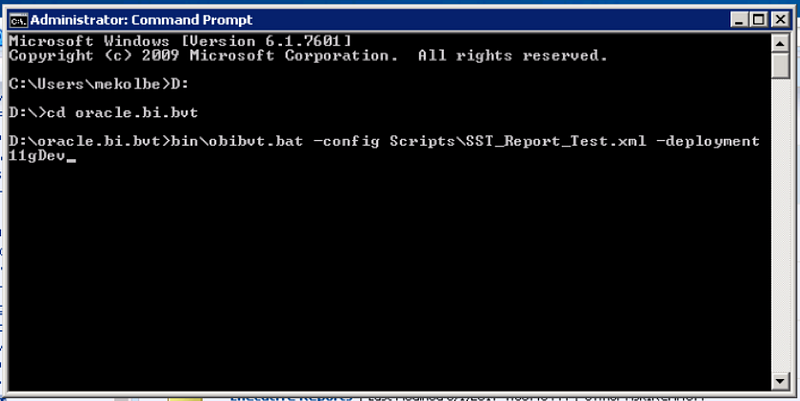 You’ll be able to watch the output in the command prompt of how many
reports it found and the progress running them.
 If you are running the UI test, you’ll actually see browser windows
open up on your computer, BVT will log you in and navigate to the
report to run. If you set your config Thread Query Size greater than 1,
you’ll see multiple browser windows open at once. Go ahead and surf
social media while your computer makes you look busy running report.
I’m sure the boss will be impressed. 😆
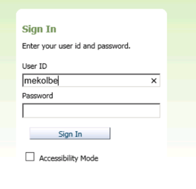 I was watching BVT type my username into this browser window as I took
the screenshot