
In a recent blog titled Managing Snowflake Data Warehouse Compute in OBIEE, I explained how to assign application users and roles to use designated compute clusters (warehouses) in Snowflake. The idea of specifying a Snowflake warehouse on a per user (or groups of users) basis is not specific to OBIEE and can be achieved with other technologies that:
- Attach values to users/groups in a session
- Allow variables to be passed into a connection string
Another tool that makes this possible is Looker, which was the first vendor to create a dedicated Snowflake connector. Looker is a great choice to use in conjunction with Snowflake because, among other reasons, Looker does nearly all of its processing on the database using SQL. I only say “nearly” because of things like merged results and table calculations; the heavy-lifting is certainly done on the database. By utilizing the database for processing, Looker takes advantage of Snowflake’s on-demand, elastic compute.
If you haven’t read the blog referenced above, here is the premise:
There are two users accessing the same Snowflake database. One user is a finance analyst interested in aggregating finance data; and the other: a data scientist performing statistical analysis. The finance analyst’s workloads are typically lighter and take a few seconds to complete. On the other hand, the data scientist is writing complex queries that use analytical functions; these queries return in minutes rather than seconds. In this scenario, I don’t want to ratchet up the compute power I’m giving to the finance analyst as there is no reason to. I do, however, want to give the data scientist some more compute resources to work with. Snowflake’s shared data, multi-cluster architecture allows me to do just that.
Configuring Looker to designate a Snowflake warehouse on a per-user/group basis involves setting up a new User Attribute. Looker User Attributes are remarkably universal and can be used in:
- Database Connections
- Data Actions
- Filters
- Scheduled Dashboards and Looks
- Access Filters
- Connecting to Git Providers
- Liquid Variables
- Google BigQuery Data Limits
- Embedded Dashboards
In this case, we will use the User Attribute functionality to control a database connection. The process is fairly simple so without further ado, let’s get started.
Configure Snowflake
The prerequisites in Snowflake are to have a database with at least one table and a minimum of two warehouses. I’ll be using a database called RPA_DEMOwhich contains some brokerage data and two warehouses, one each for the analyst and scientist. The warehouses can be created in Snowflake using these SQL statements:
[/vc_column_text][ultimate_spacer height=”10″][vc_column_text]create warehouse if not exists analyst_wh with warehouse_size =’xsmall’ initially_suspended = true;[/vc_column_text][ultimate_spacer height=”10″][/vc_column][/vc_row][vc_row][vc_column][vc_column_text]
create warehouse if not exists scientist_wh with warehouse_size =’medium’ initially_suspended = true;
Create New Looker Users and Groups
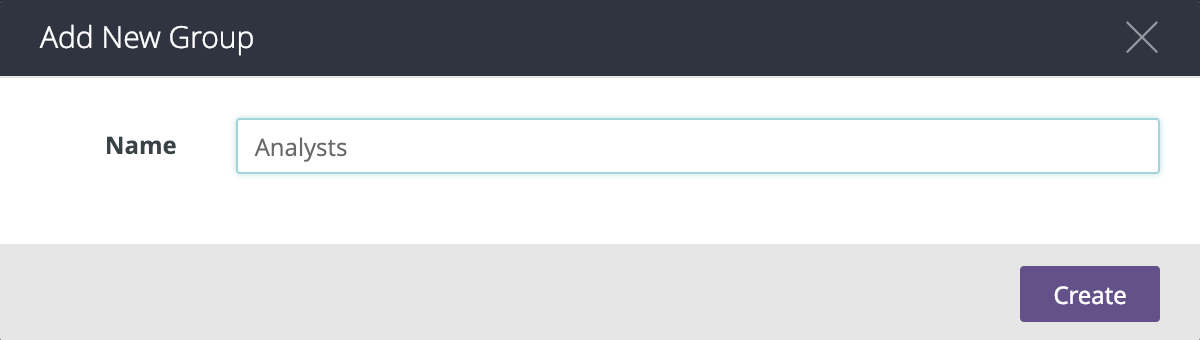
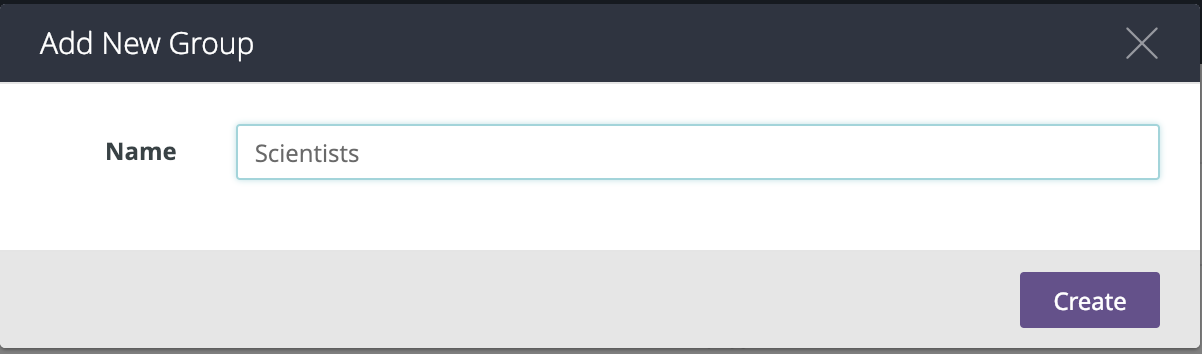
With the Snowflake prerequisites satisfied, the first step in Looker is to create new groups for the Analysts and Scientists by navigating to Admin > Groups and clicking on Add Group:
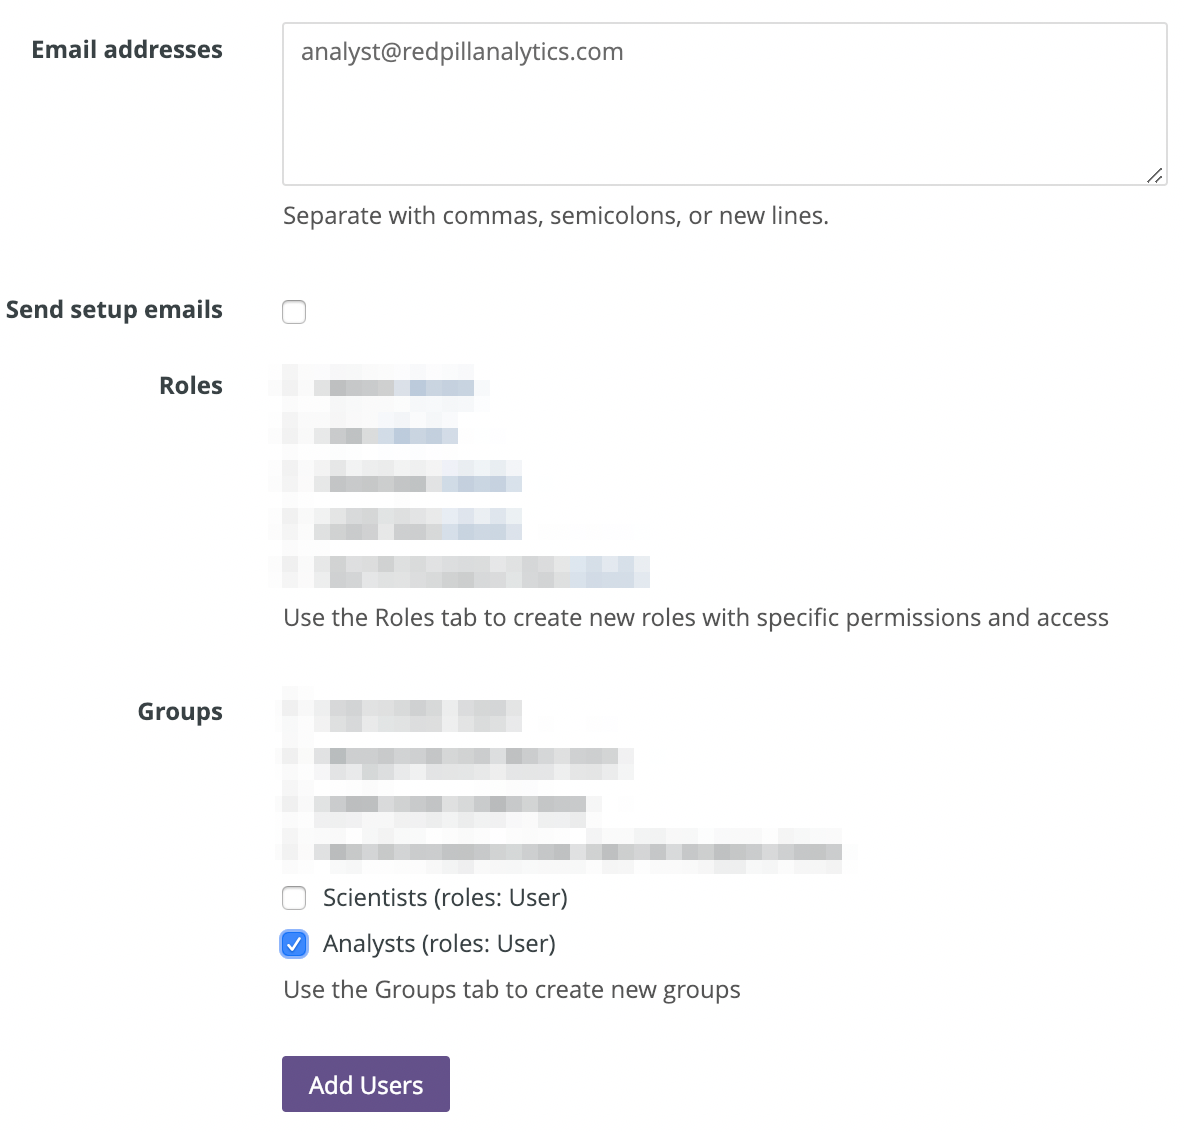
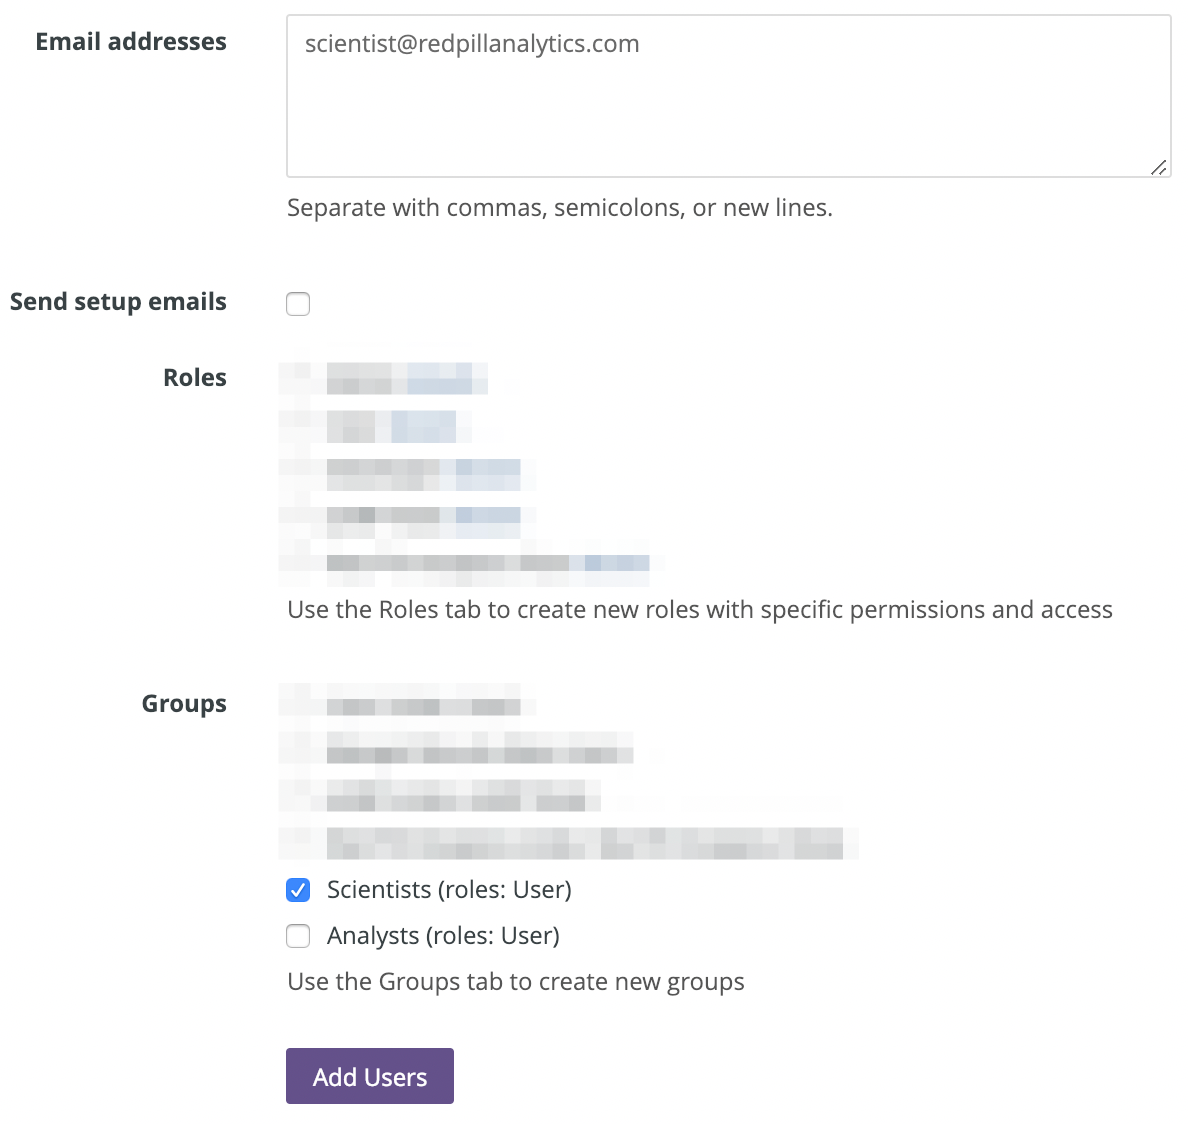
I’ll also create two test users for the purposes of this blog and assign each user to one of the groups above:
Create a New User Attribute
The bread and butter of the setup is configuring a new User Attribute in Looker. There are a few options to set on the Definition tab. The configurations below will create a new User Attribute named snowflake_wh that each user can see in his or her profile but cannot edit. The default value is to use the DEMO_WH in Snowflake; we will set the other values in the next step.
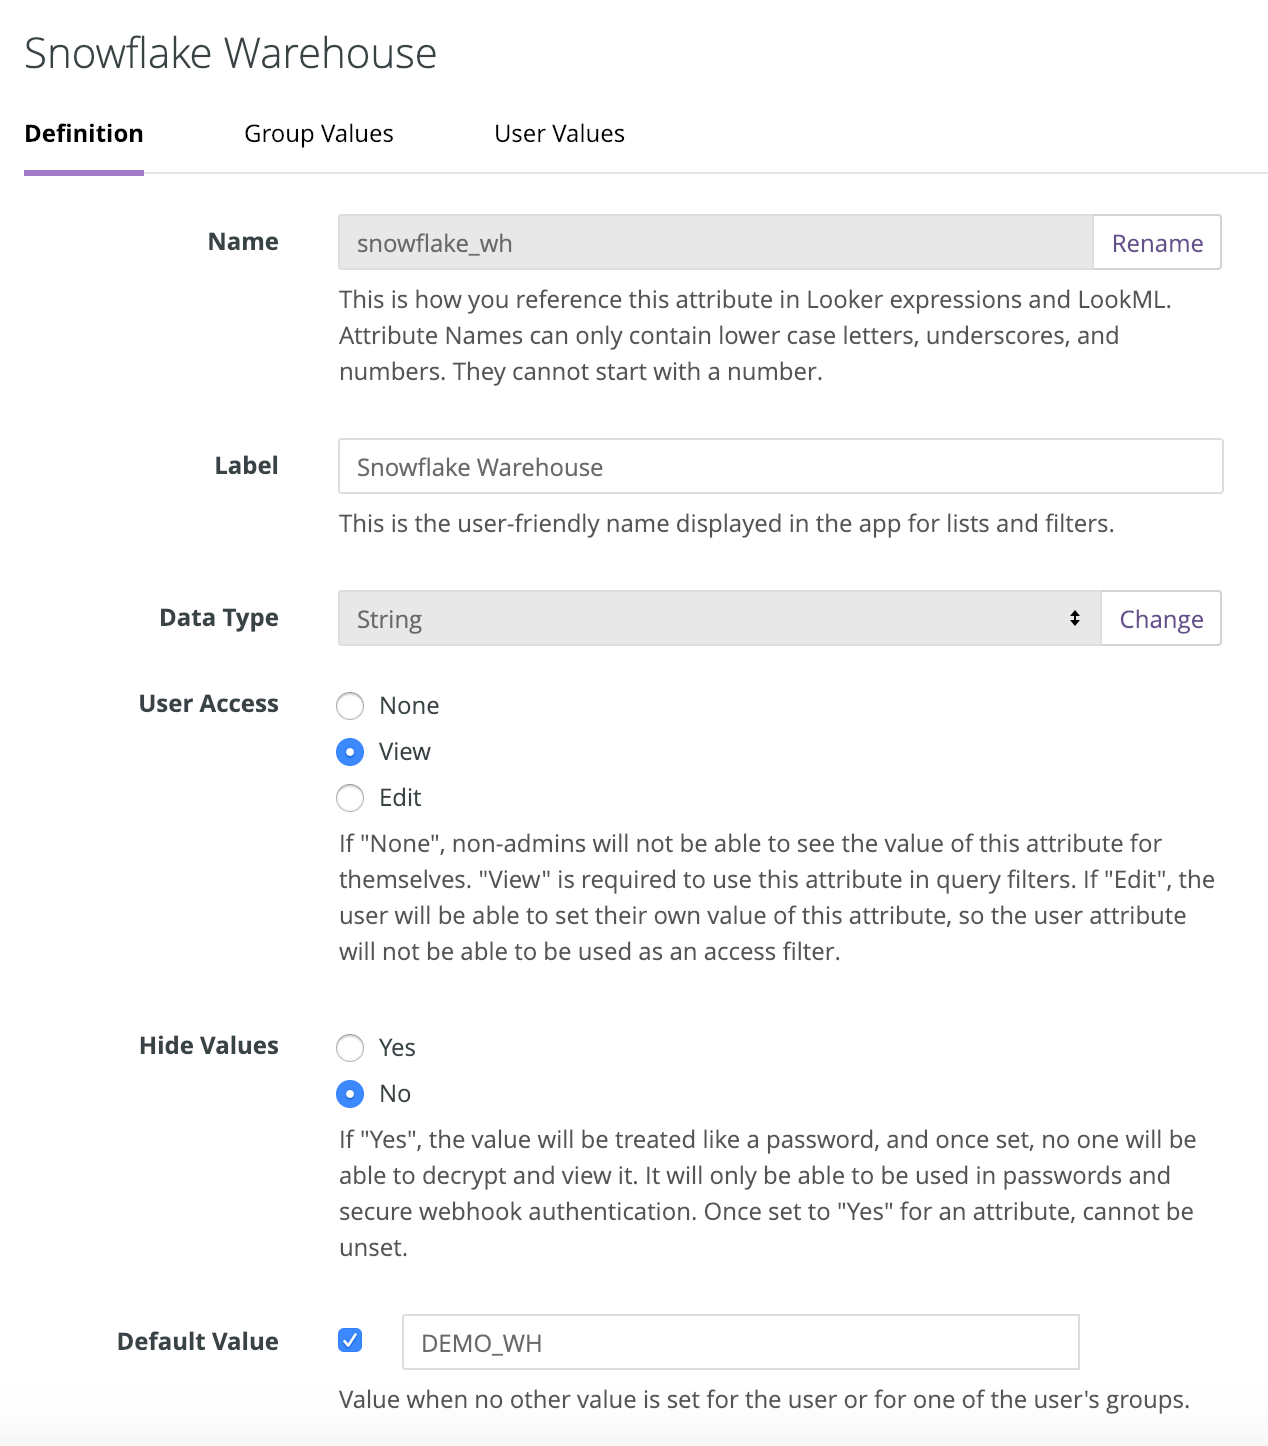
Navigating to the Group Values tab for the new user attribute and clicking “Add Group” reveals the list of groups available in our Looker instance. For the Analyst and Scientists groups, assign the ANALYST_WH and SCIENTIST_WH, respectively. Individual users can also be assigned a value but we will stick with groups for now.

Looker:Snowflake Connection
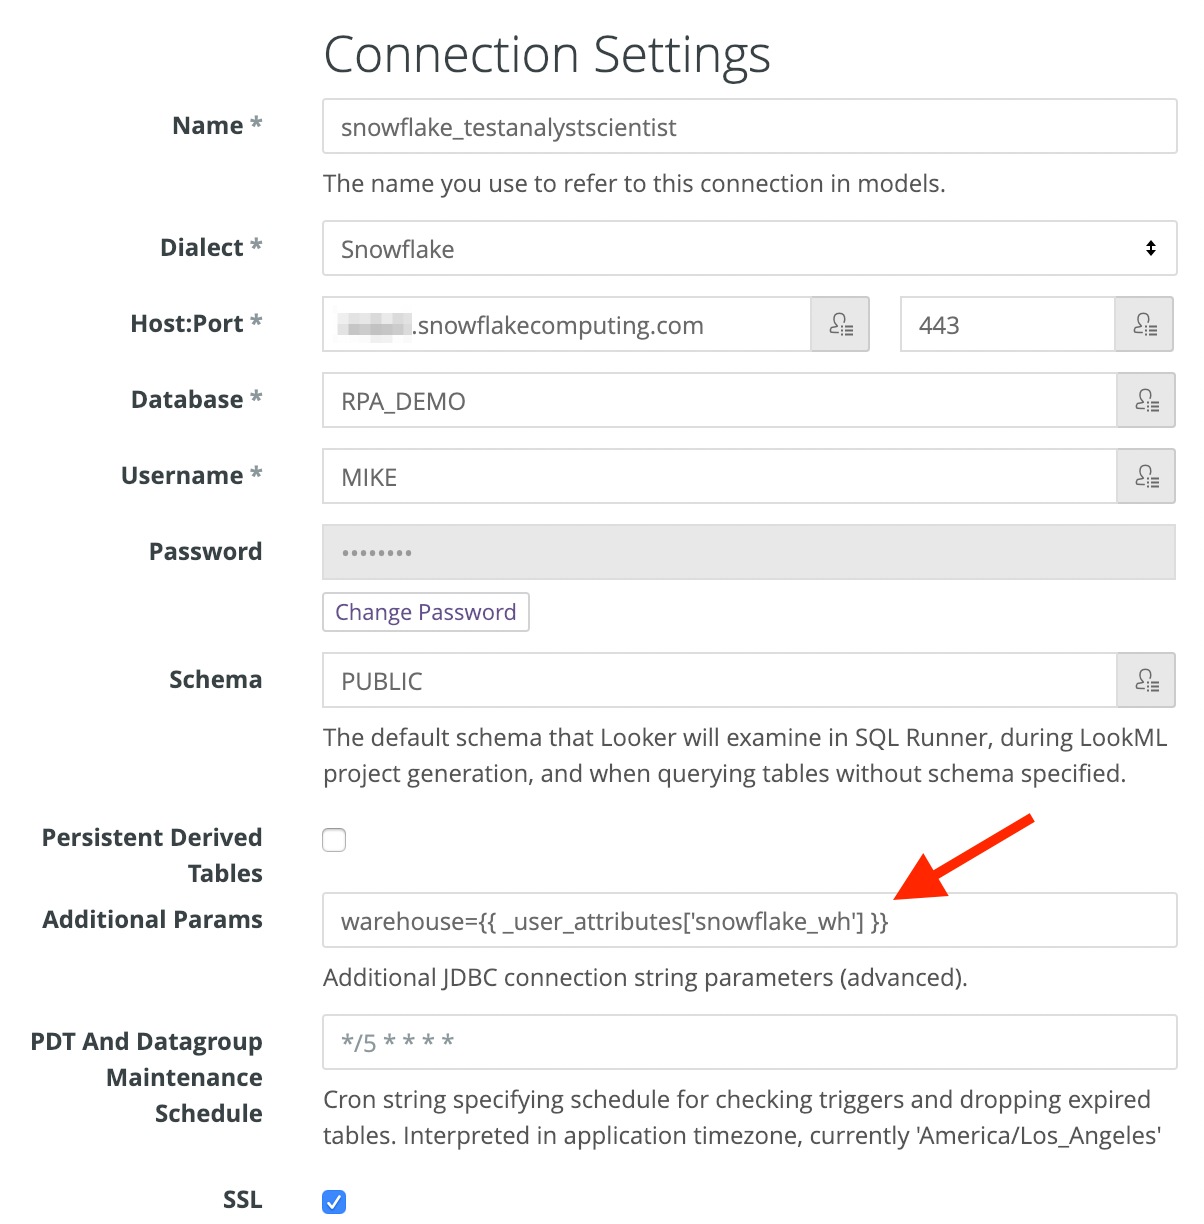
Now we need to either update an existing connection for Snowflake or create a new one. Enter the usual connection information for the Snowflake instance. In the Additional Params field, enter the following Liquid templating syntax using the _user_attributes Liquid variable:
warehouse={{ _user_attributes['snowflake_wh']}}
Test
Ensure that the user that Looker is connecting to Snowflake with has been granted the necessary permissions and test the new Looker setup. Looker provides sudo functionality which is helpful for testing and troubleshooting user access. Head to the Admin > Users page and click Sudo next to the user name you would like to impersonate:

Using SQL Runner in Looker is a simple method to test a connection. The following query will test which Snowflake warehouse Looker uses:
[/vc_column_text][/vc_column][/vc_row][vc_row][vc_column][ultimate_spacer][vc_column_text]SELECT *[/vc_column_text][ultimate_spacer][vc_column_text]
FROM RPA_DEMO.BROKERAGE.ACCOUNT
LIMIT 5
;
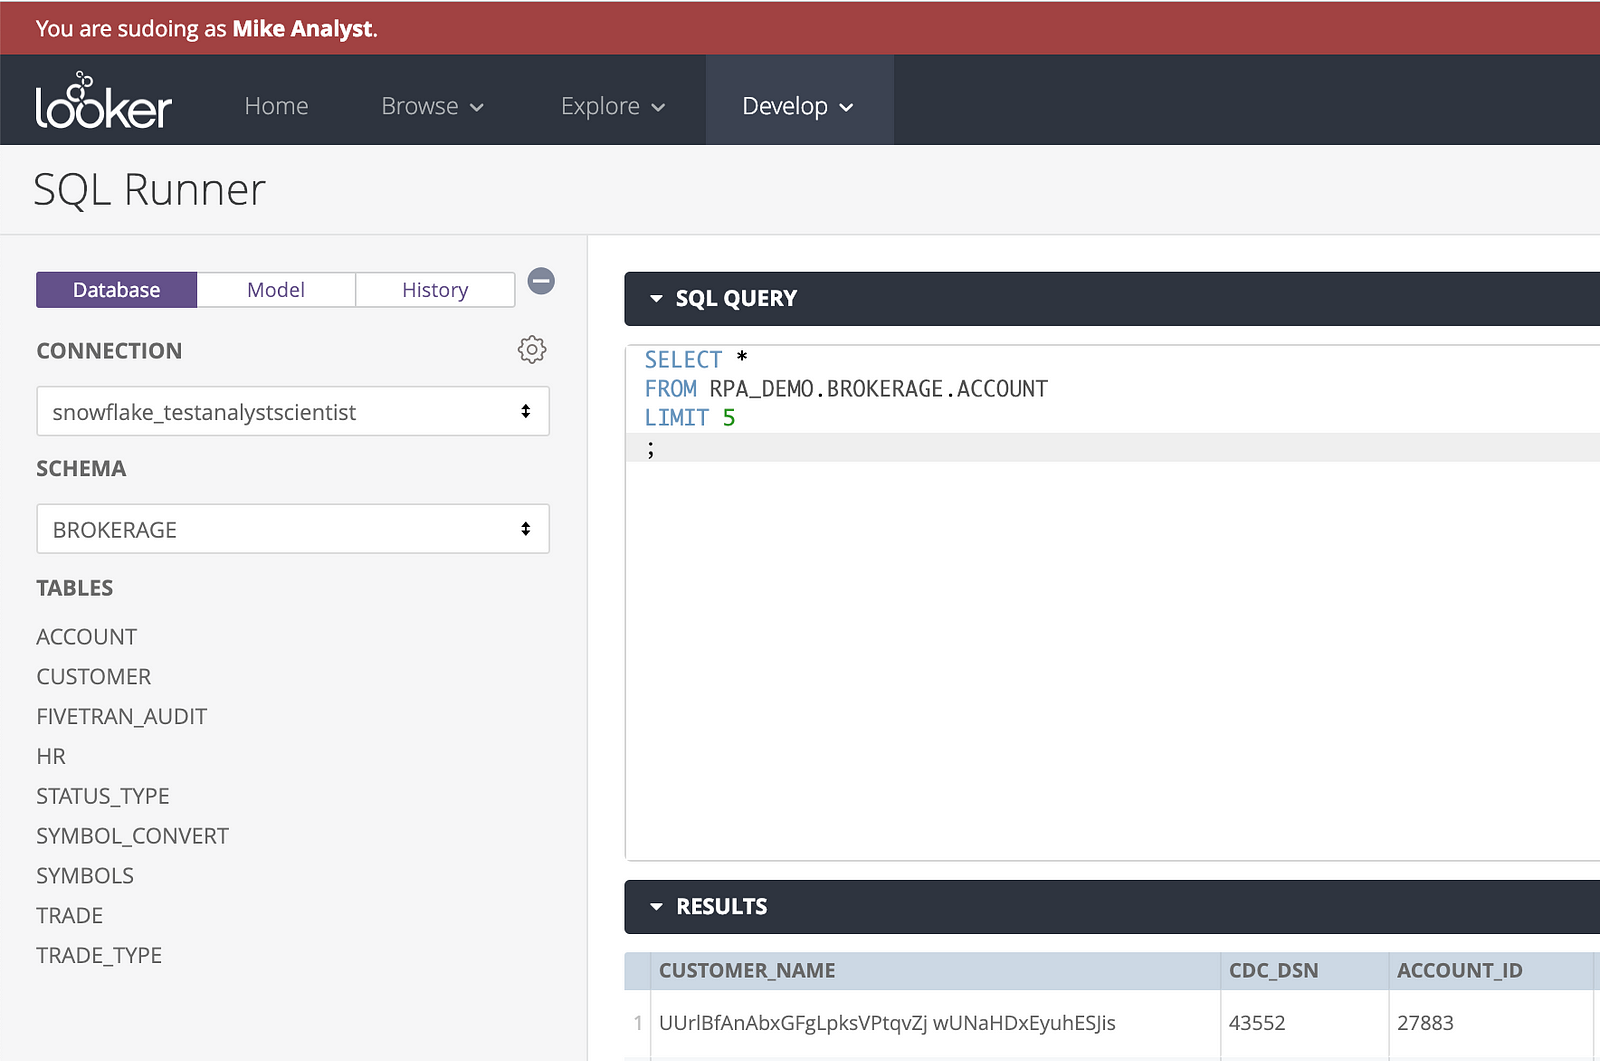
Snowflake history should show the ANALYST_WH was used in this case, and it does:

Now to check the scientist user by leveraging sudo. We can run a very similar query to test the second user but Snowflake caches query results so in order to trigger a new query to run, a minor change needs to be made to the SQL statement:
[/vc_column_text][vc_column_text]SELECT *[/vc_column_text][/vc_column][/vc_row][vc_row][vc_column][vc_column_text]
FROM RPA_DEMO.BROKERAGE.ACCOUNT
LIMIT 4
;
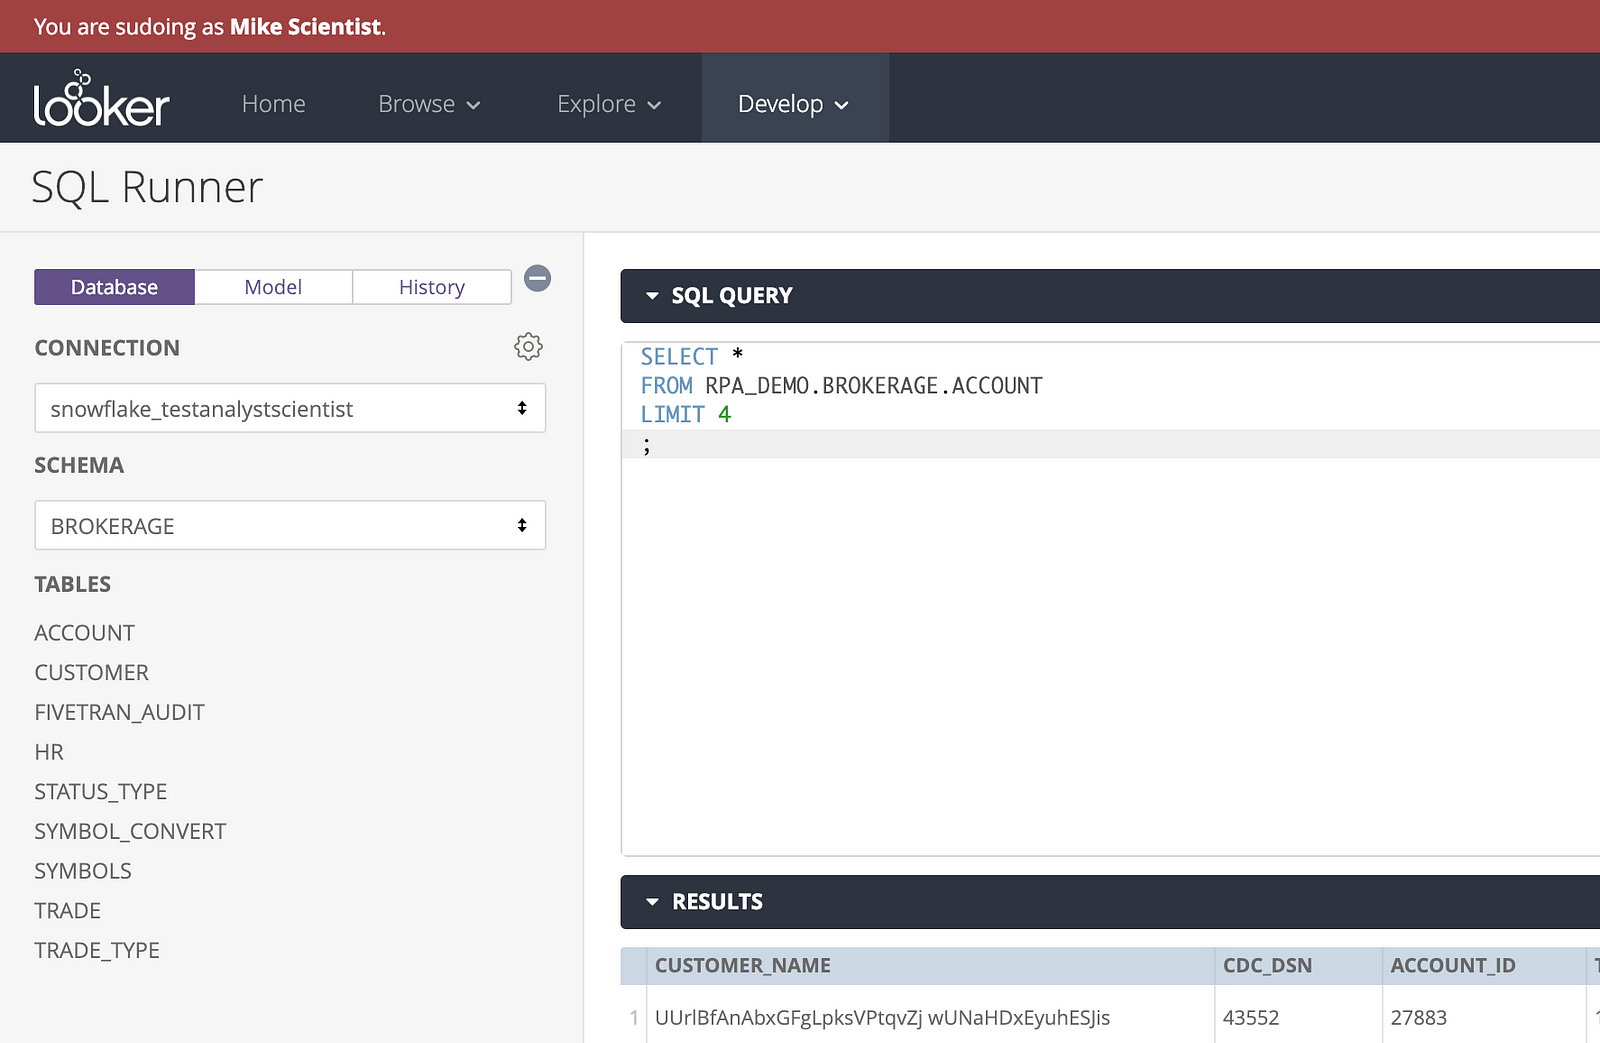
And now Snowflake history shows that the appropriate SCIENTIST_WH was used to run the query:

Conclusion
Controlling which Snowflake warehouses are used by an application allows greater flexibility and usage tracking. In some cases, organizations have a good handle on the scenarios that require more (or less) processing power, many times because users have screamed long enough about poor performance. In an effort to be more proactive, I encourage taking a look at some of the usage tracking functionality that Snowflake offers in the form of system-defined table functions. Analyzing the information in these table functions will assist in making ongoing data-influenced decisions on the number, sizes, and shapes of Snowflake warehouses in your environment.
Need Help?
Red Pill Analytics is a Snowflake Solutions Partner as well as a Looker Consulting Partner with many of our consultants certified in both Snowflake and Looker. From proof-of-concept to implementation to training your users, we can help. If you are interested in guidance while working with Snowflake, Looker, or any of your data or analytics projects, feel free to reach out to us any time on our website or find us on Twitter, Facebook, and LinkedIn.